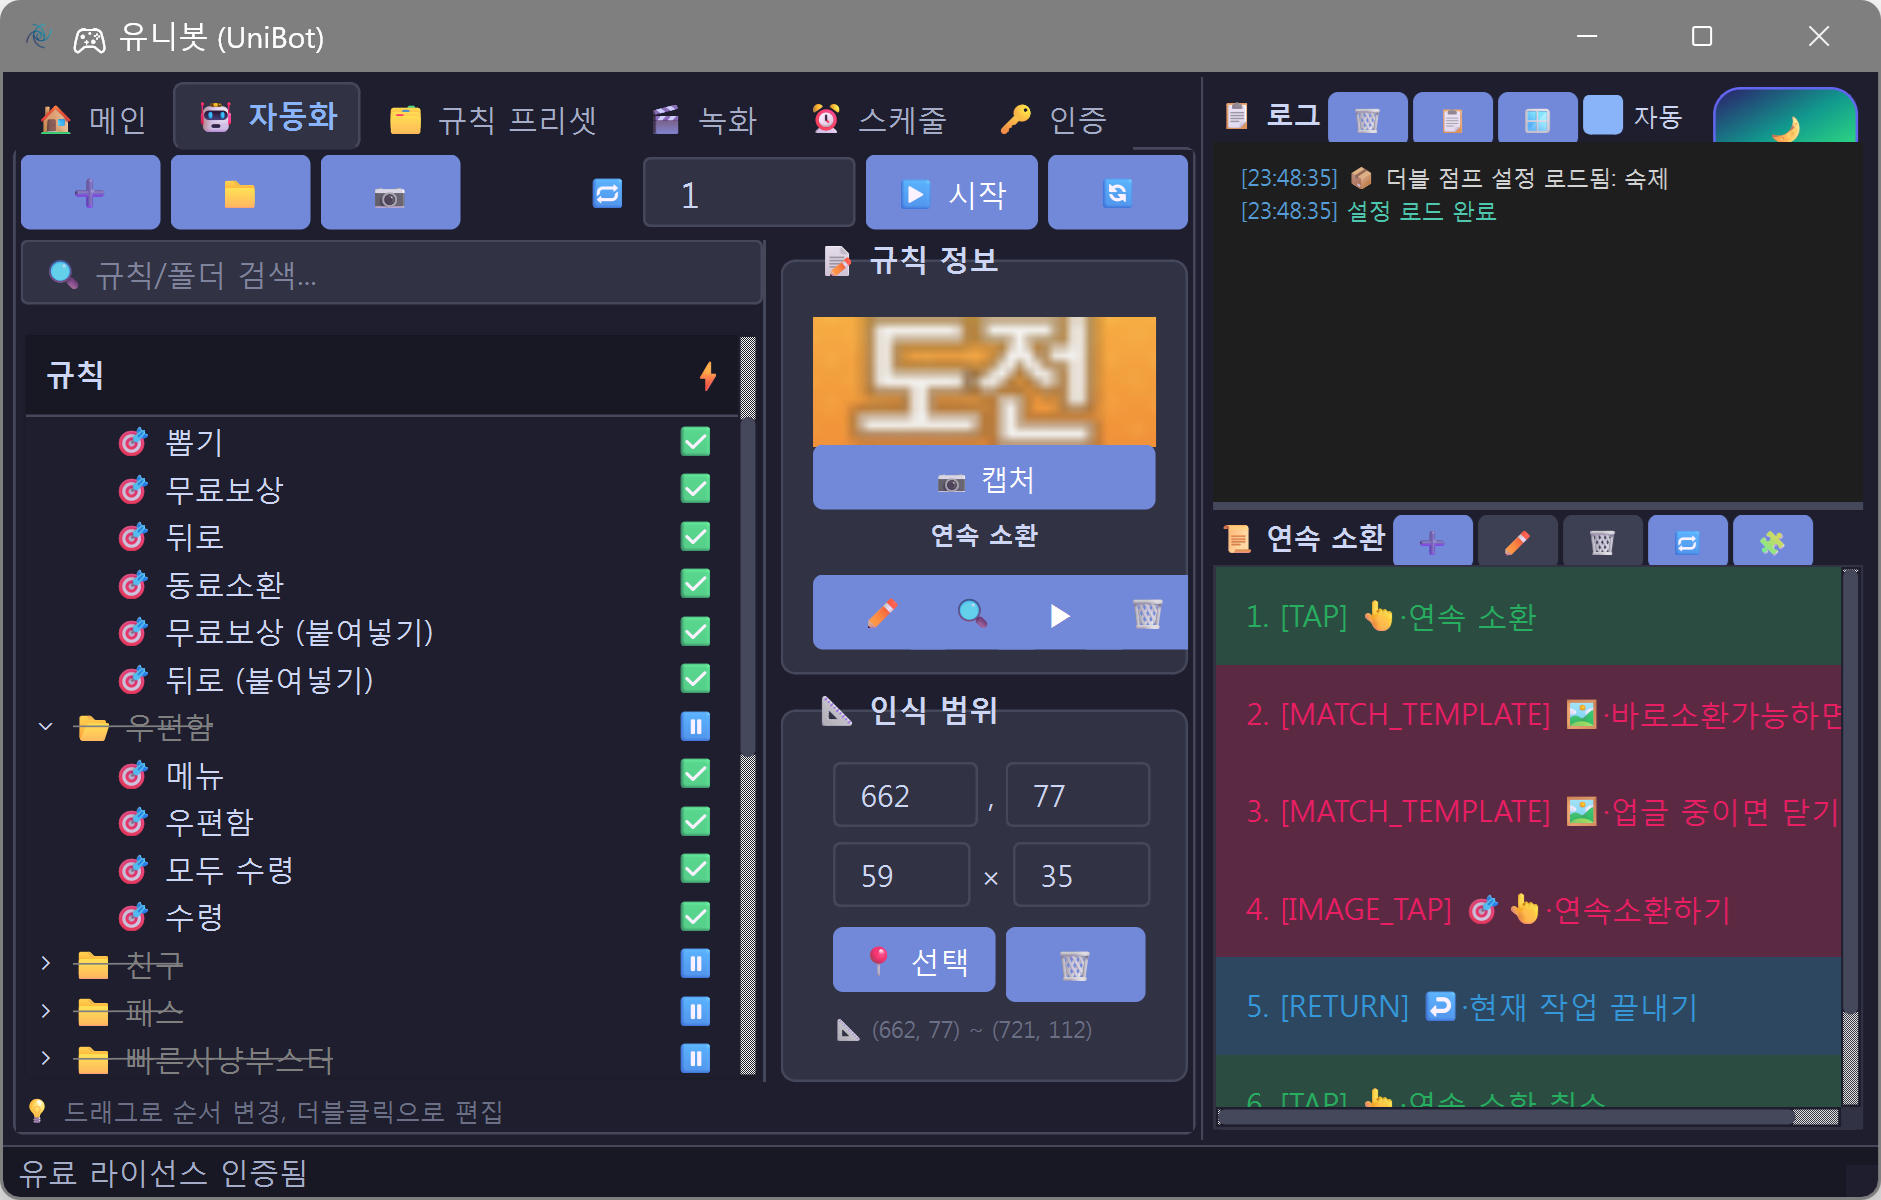
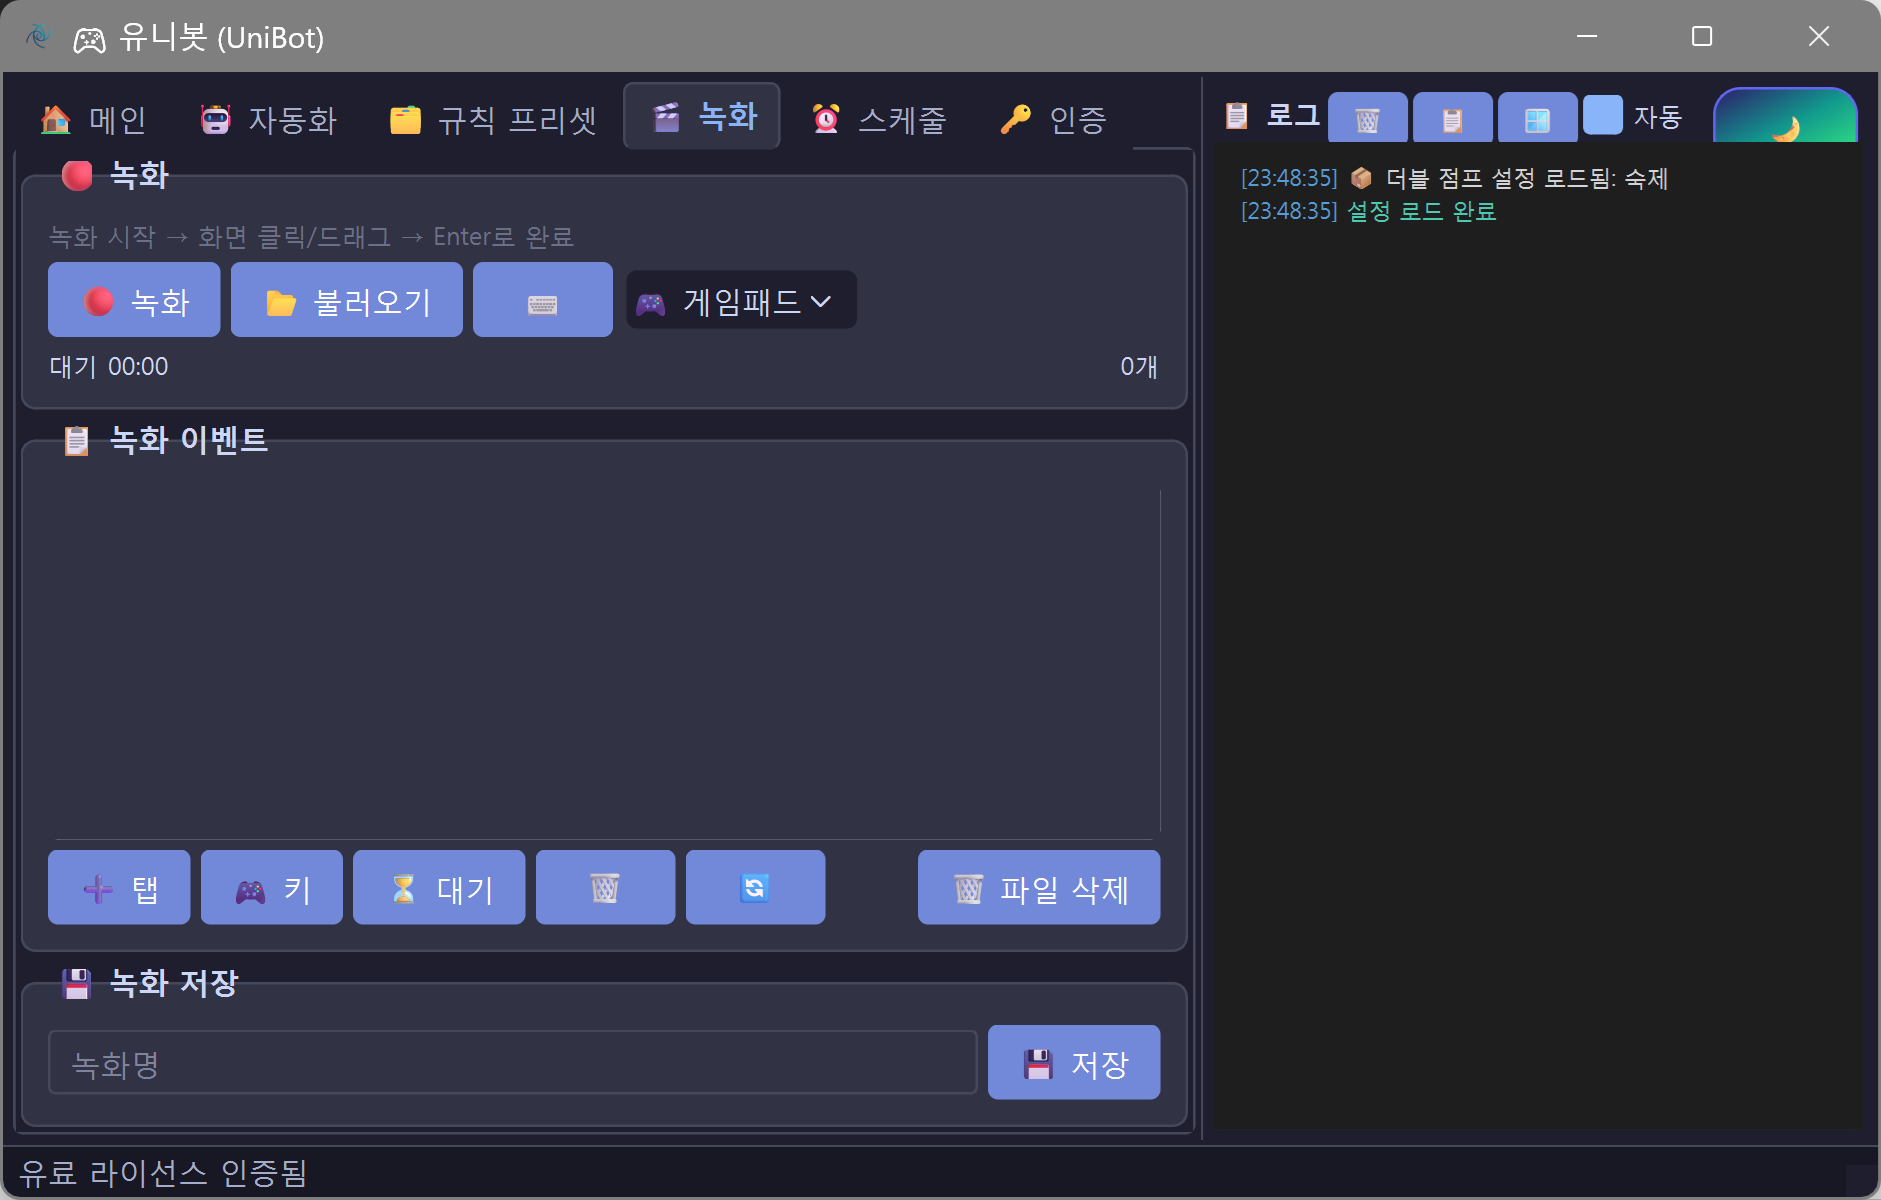
눈으로 보듯
화면을 인식.
OpenCV 기반 시각 인식으로 픽셀 좌표에 의존하지 않습니다. 해상도가 바뀌어도, UI가 조금 달라져도 정확하게 작동합니다.
- 템플릿 매칭으로 이미지 자동 탐색
- OCR로 텍스트 인식
- 멀티스케일 매칭 지원

NEW
프리셋을 공유하고
프리셋을 공유하고
함께 성장.
다른 사용자가 만든 자동화 프리셋을 다운로드하세요. 내가 만든 프리셋을 공유하고 커뮤니티에 기여하세요.
- 검색 및 필터로 원하는 프리셋 탐색
- 다운로드 수로 인기 프리셋 확인
- 버전 관리로 항상 최신 유지

Premium
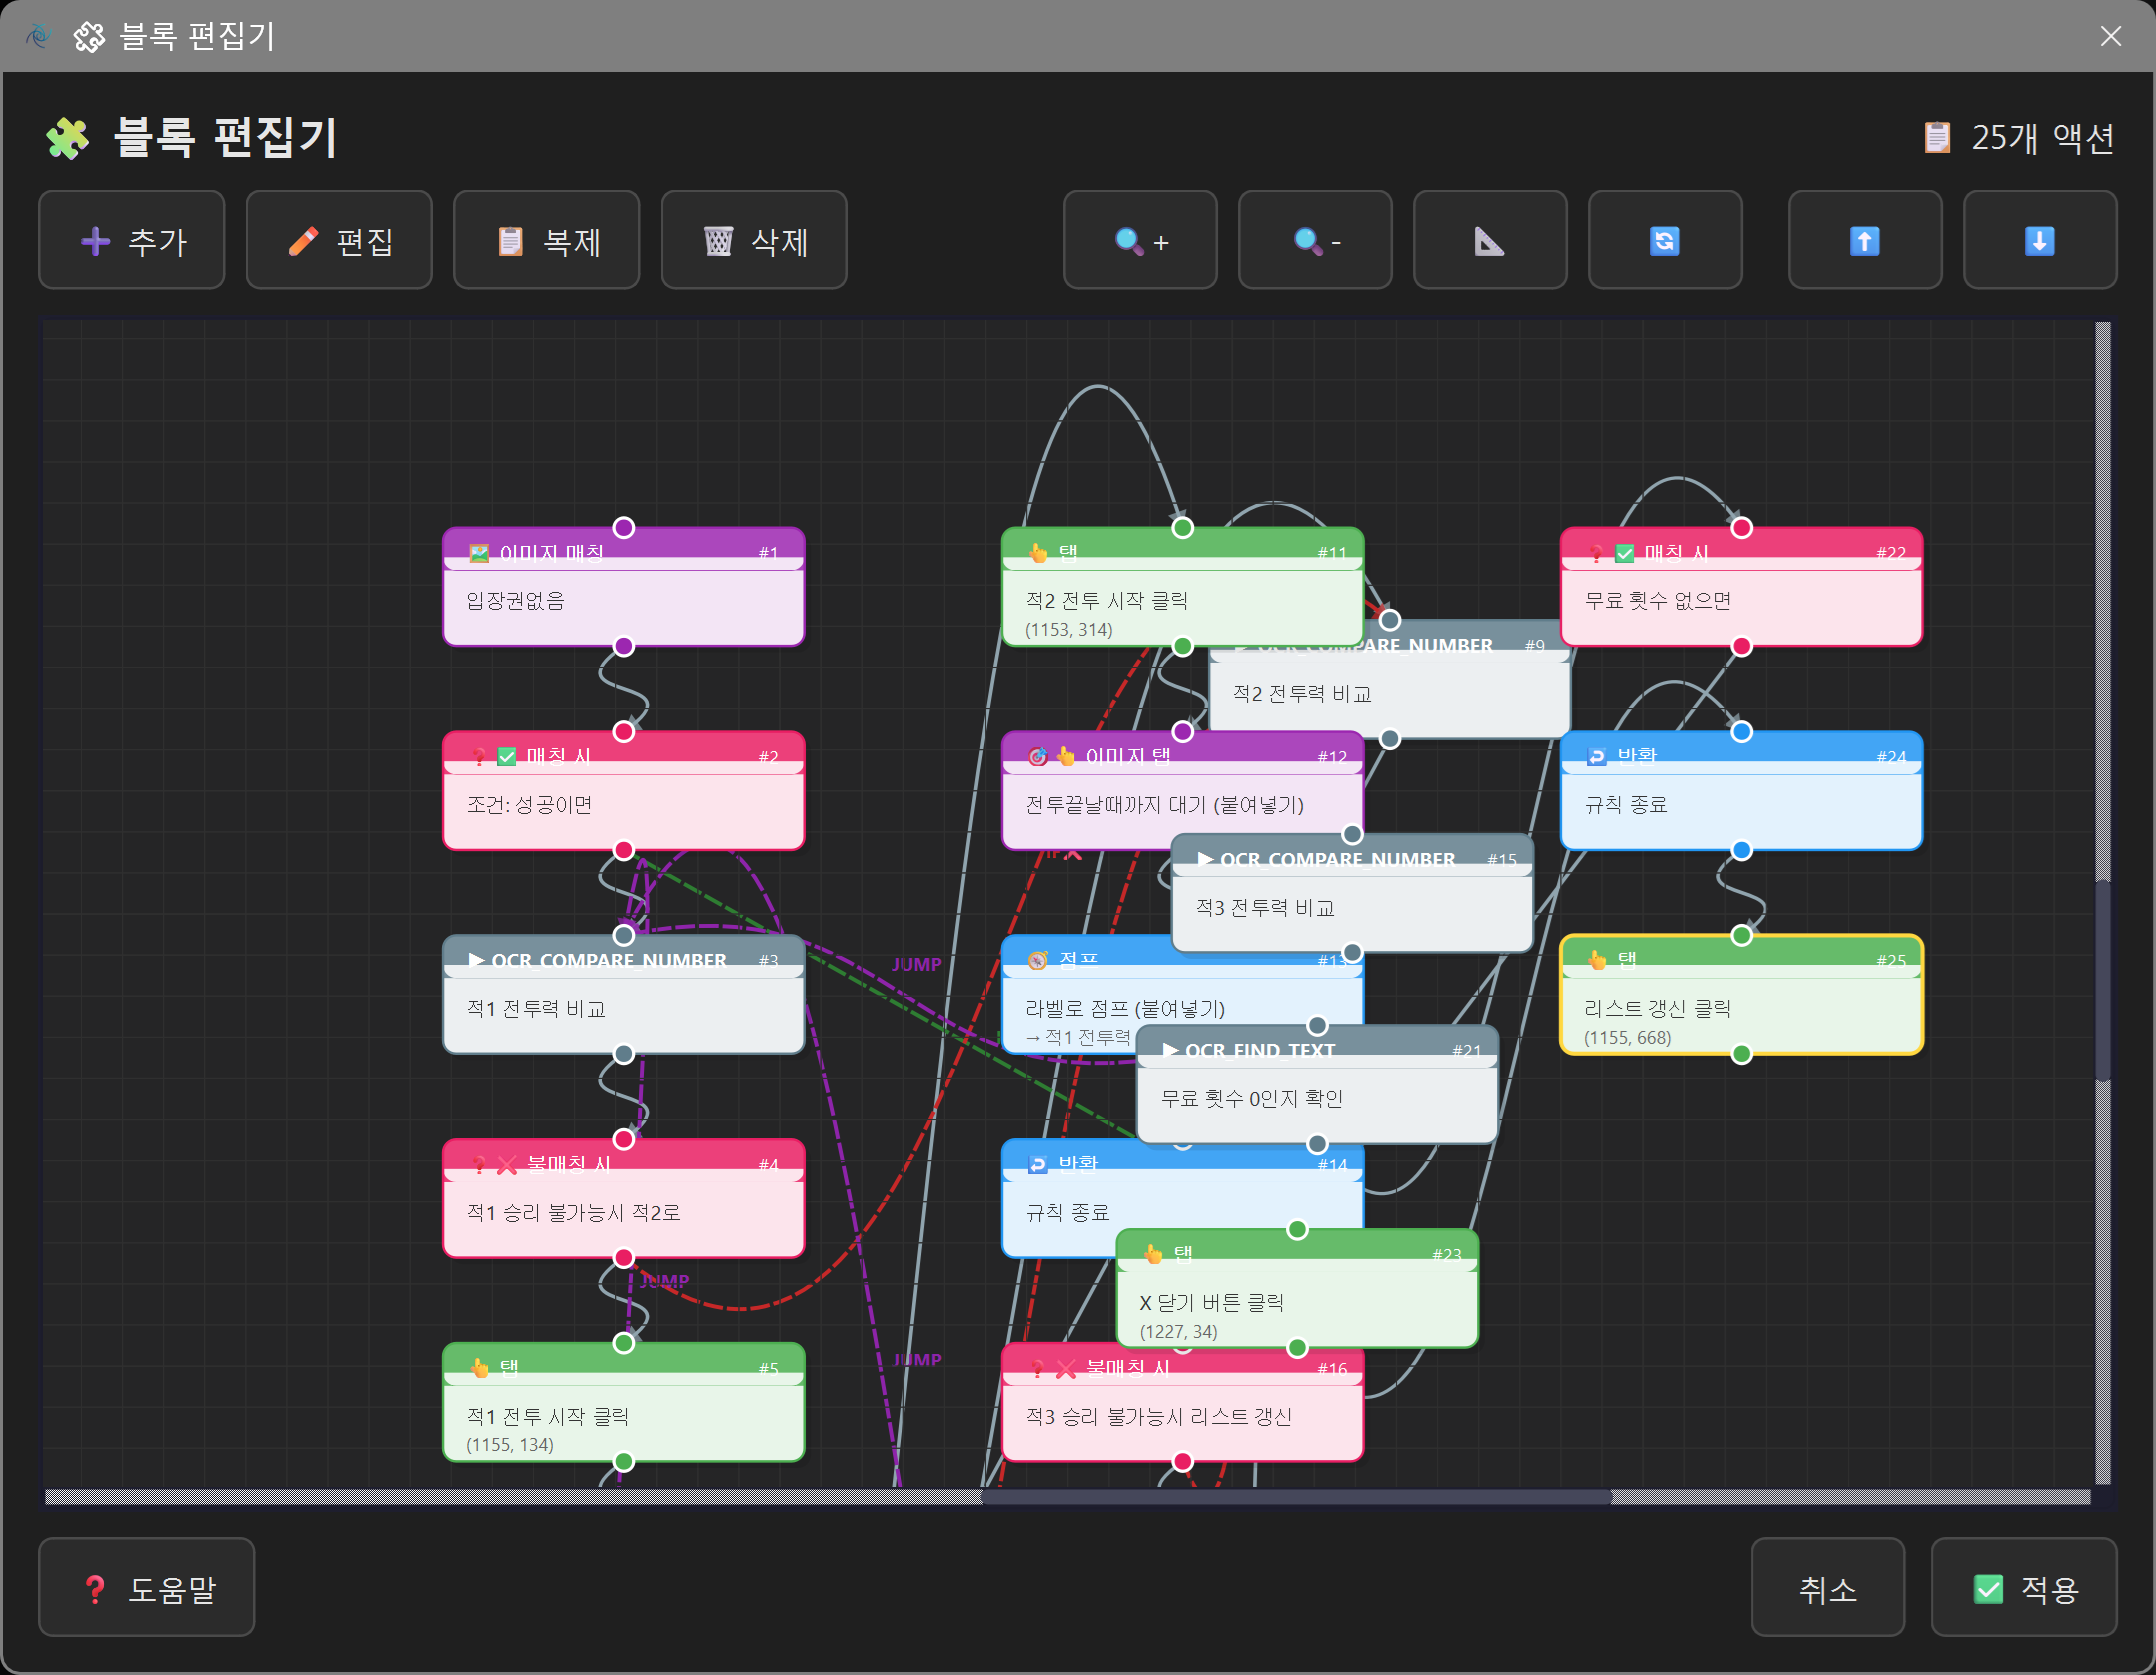
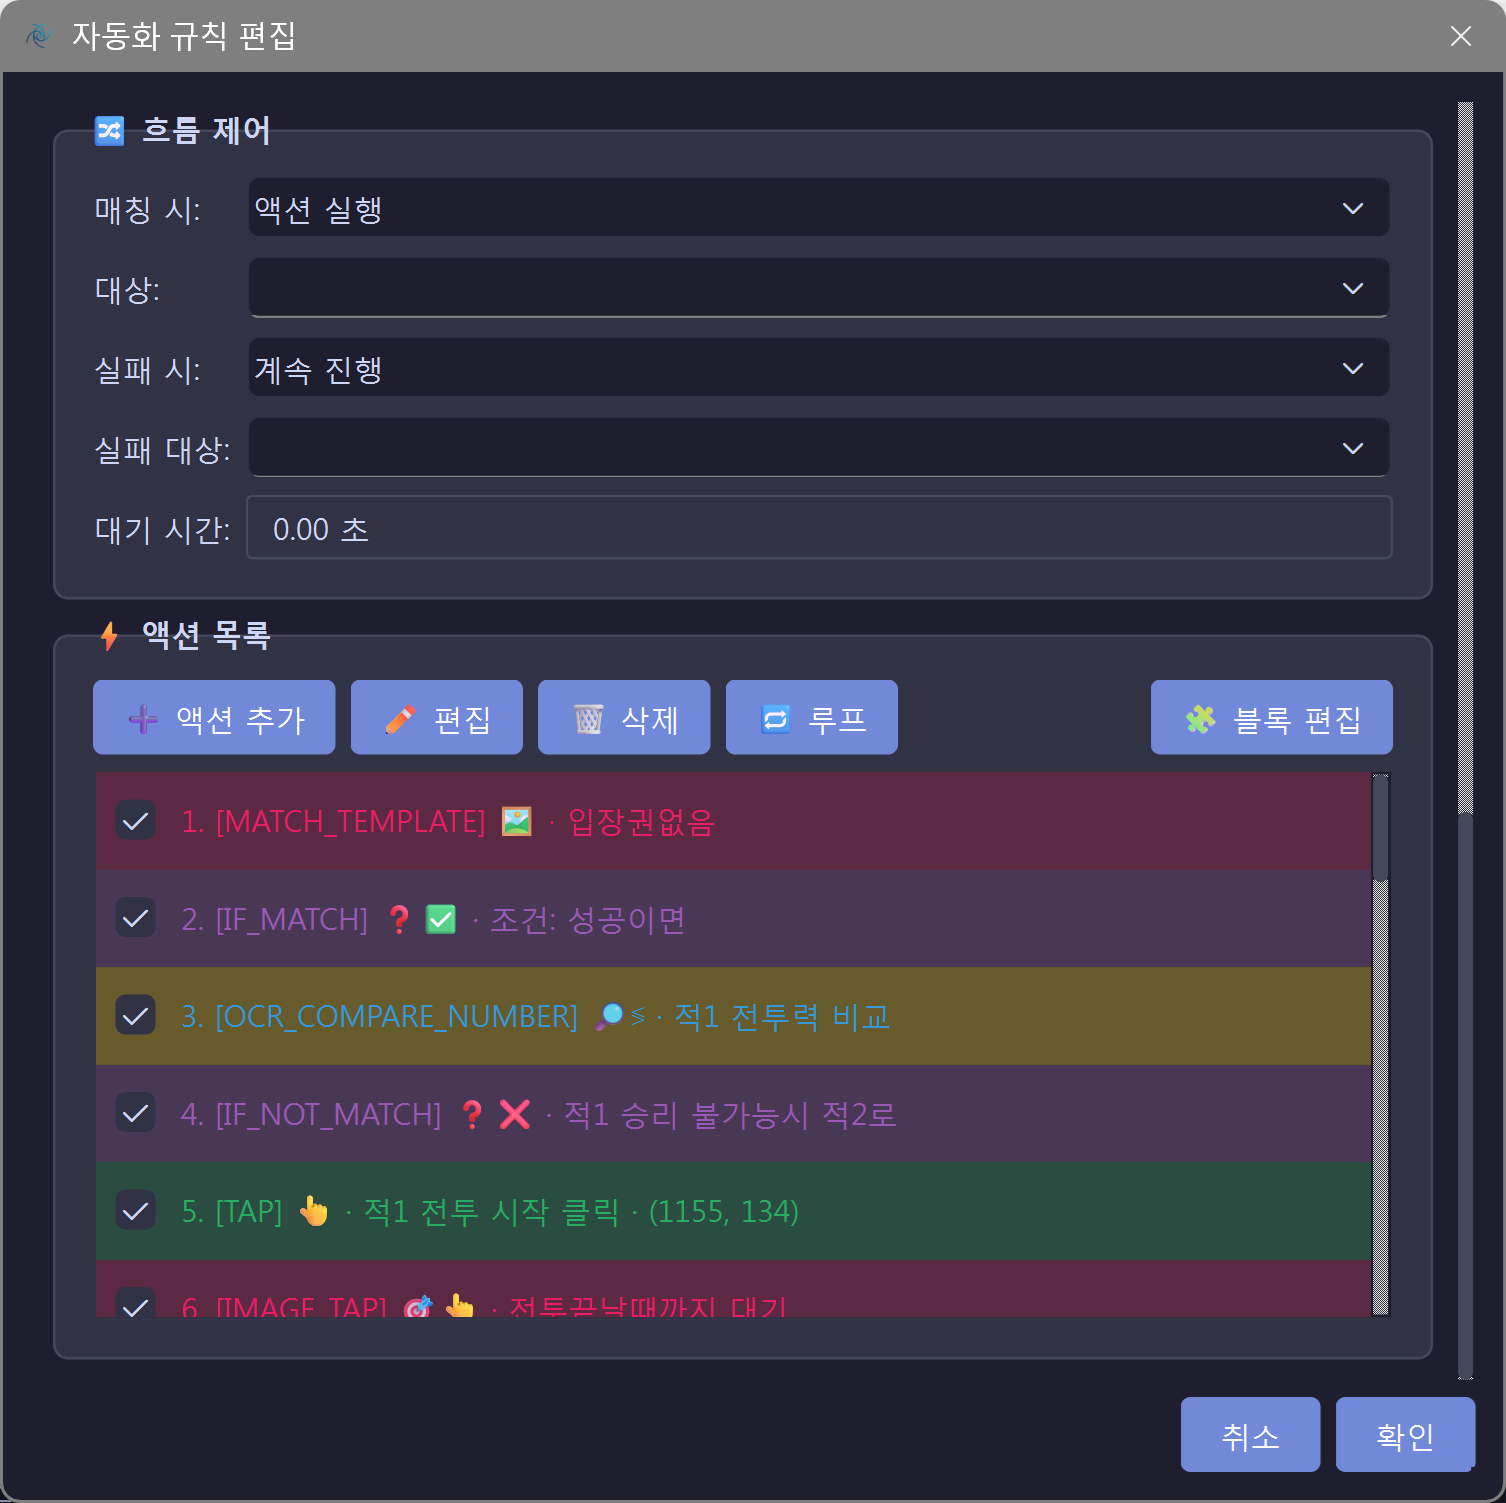
코딩 없이
코딩 없이
복잡한 로직을.
조건문, 반복문, 변수를 드래그 앤 드롭으로 구성하세요. 프로그래밍 경험 없이도 고급 자동화를 구현할 수 있습니다.
- 시각적 블록 에디터
- 조건 분기 및 반복 로직
- 변수와 연산자 지원

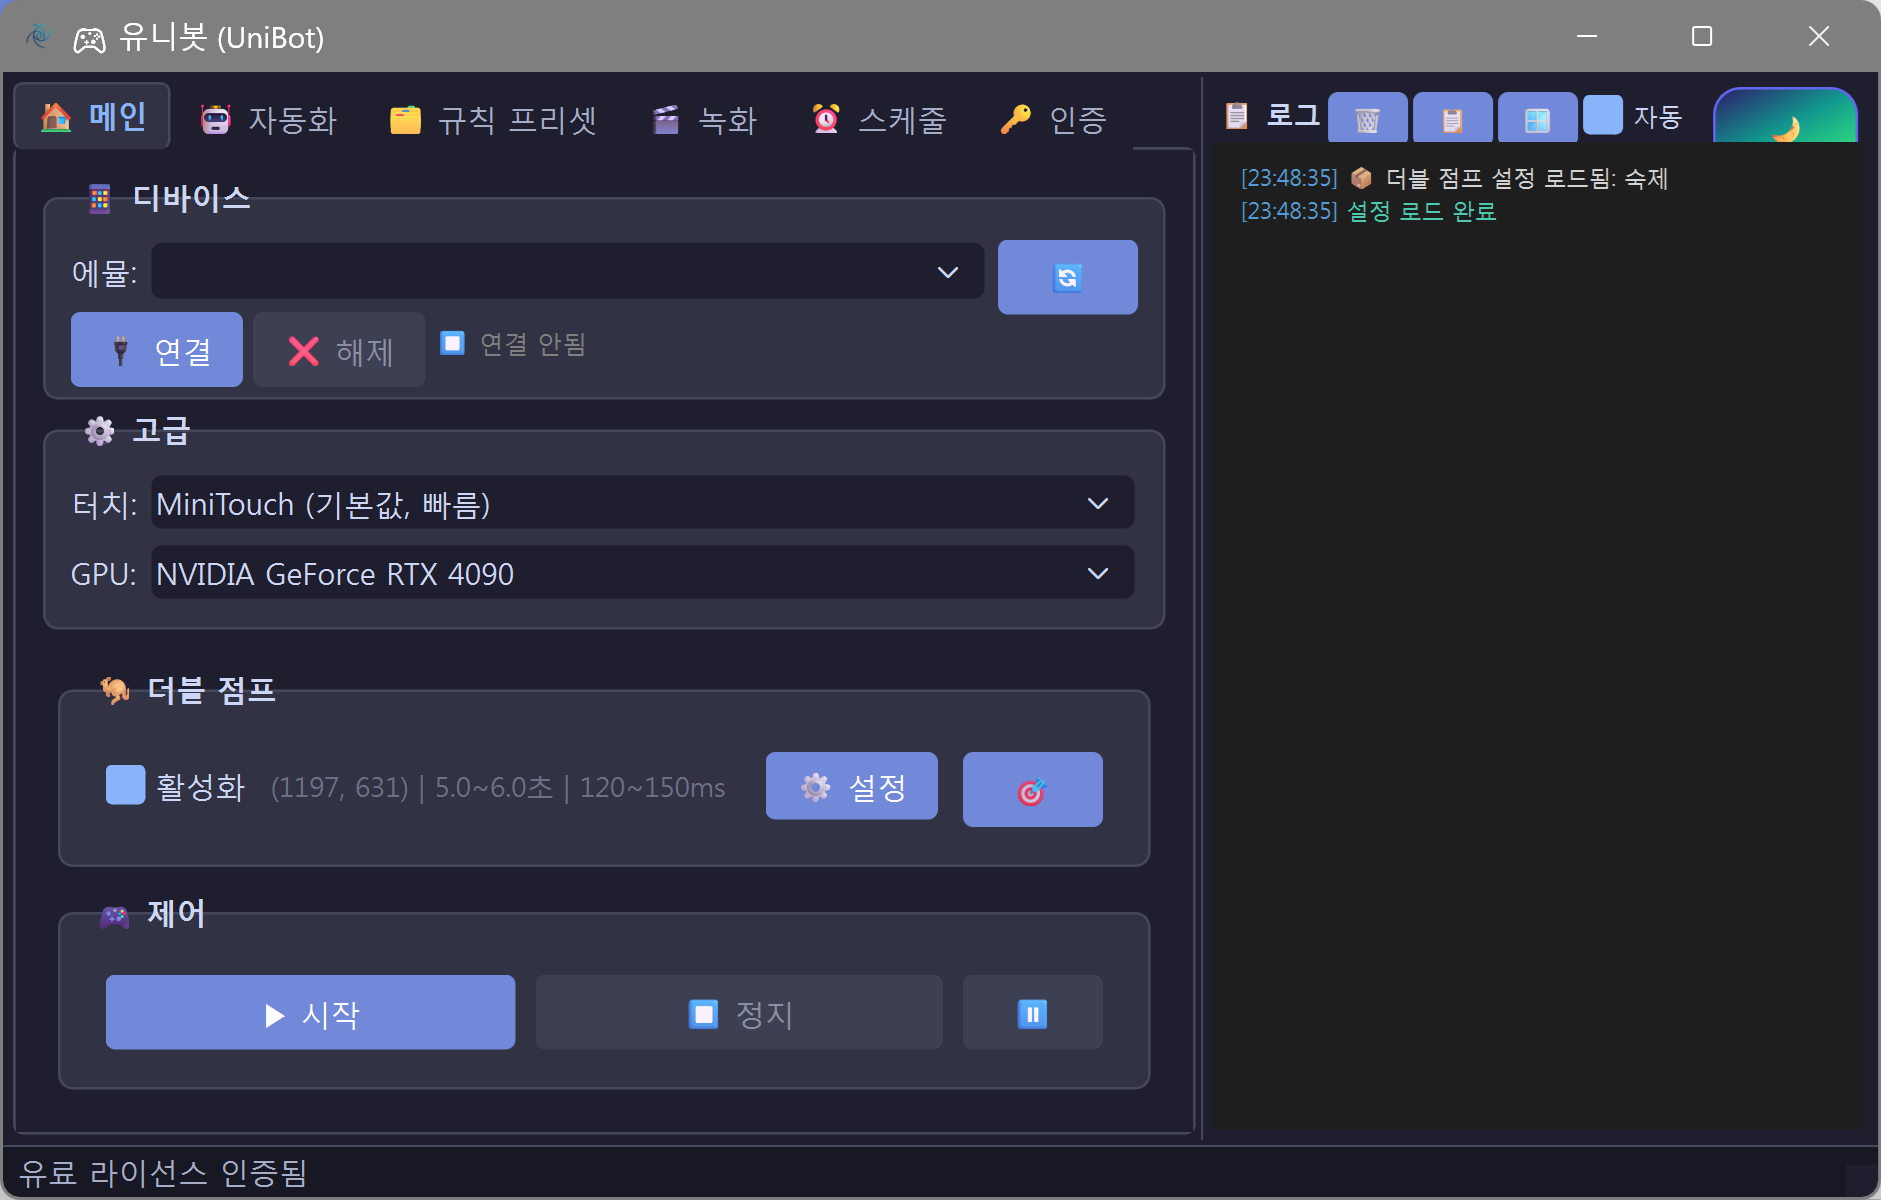
모든 에뮬레이터.
하나의 도구.
MuMu Player, LDPlayer 등 주요 에뮬레이터를 완벽 지원. DLL 캡처로 게임 감지 없이 백그라운드에서 작동합니다.
- MuMu Player 12 지원
- LDPlayer 9 지원
- Android 스마트폰 지원
- PC 프로그램 지원